One of my ladies has asked me to do an Easter Card Workshop so the first thing I decided to do was make a box that would hold three Cadbury's eggs. That took priority over designing the Cards!
I was in Home Bargains this morning and found a box of three chocolate eggs which I bought and then took the box apart to work out the dimensions. I was also inspired by Connie Stewart who has made a similar box with slightly different dimensions. So thanks, Connie, for the inspiration.
I used Rose Red and Certainly Celery Card Stock although Elegant Eggplant and Daffodil Delight would have been a better match with the eggs.
I stamped it using the Bloomin Marvellous Sale-a-bration Set. I stamped some of the flowers on to a scrap of More Amore Paper and cut them out. I always love using up scraps.
I had to show you a picture of what is inside the Box.
I used the smallest of the Labels Framelit Dies for the window on the top of the box.
I used the matching Stamp Set to stamp the Label in Rose Red and then cut it out using the Big Shot.
The Ribbon is Daffodil Delight Taffeta Ribbon which ties beautifully and is a great colour for Easter.
Showing posts with label Framelits Labels.. Show all posts
Monday, 25 February 2013
Tuesday, 5 February 2013
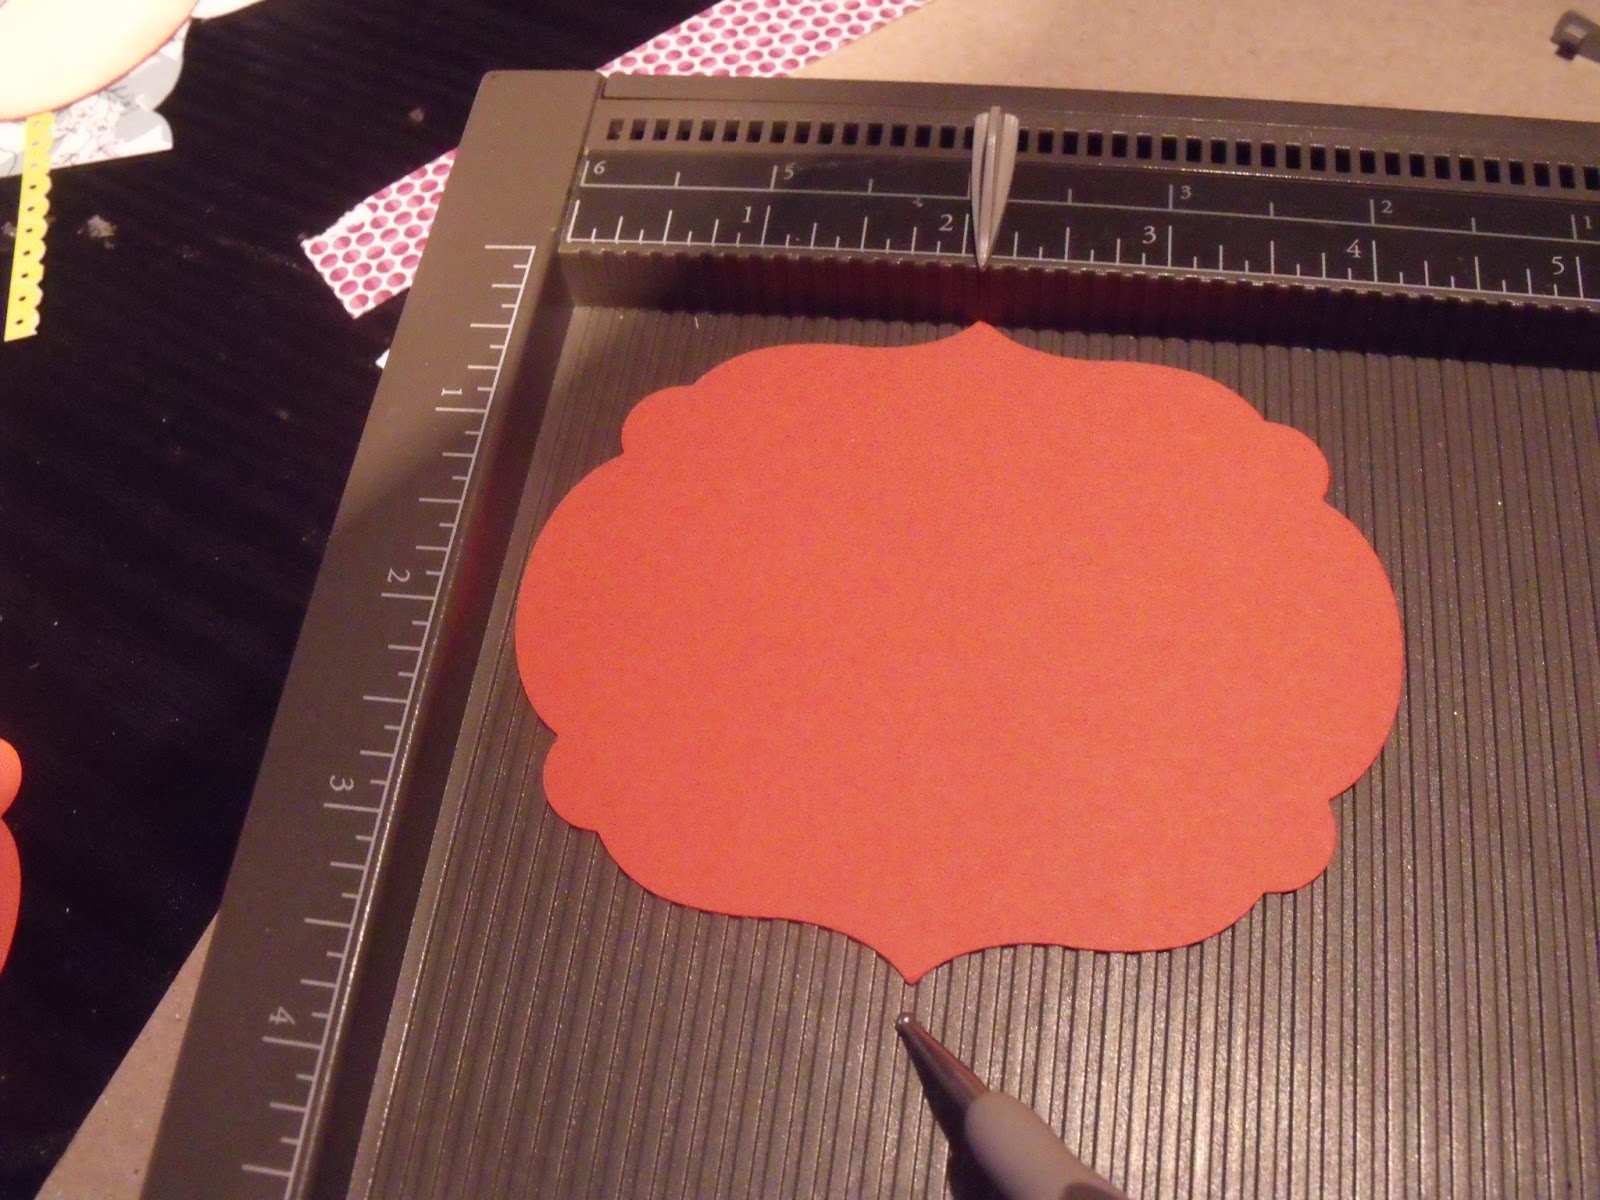
Tutorial for Ferrero Rocher Boxes using Labels Framelits.
Die cut two Labels Framelits using the third largest frame.
Put a place marker at the 2 1/8th inch mark on the Score Board.
Run your scoring tool down that line and place one of the die cut Labels in between.
Now put two markers at 1 3/8th inch and 2 7/8th inch and score both lines.
Do this for both Labels.
Turn the Label to the vertical position and put markers at 1 inch and 2 1/2 inches. Run the scoring tool down one of these lines and place the Label down to make sure that it is aligned correctly matching the grooves with the markers.
Score the two lines.
Repeat with the other Label.
Cut up to score lines as shown in the photograph with one Label horizontal and the other vertical.
NB Two tabs have been cut off from the Vertical Label on the right.
Adhere the tabs to the sides using Tombow Adhesive or Red Double Sided Tape.
Attach the lid to the base.
This is the back of the box once the tab has been attached.
The completed box decorated with Sycamore Street DSP punched with the Scallop Square Punch and flowers punched with one of the Itty Bitty Punches.
I then added a Tangerine Tango button from the Sale-a-bration Ribbon and Button pack, free with a £45 order.
The finishing touch was one large Pearl Basic Jewel on the button and small ones on the flowers.The Jewelry Tag Punch was used for the Thank You sentiment cut of the Teeny Tiny Sentiments Stamp Set.
I hope that you enjoy making these Boxes. Please remember to respect my original design and link back to my Blog if you share it on line.
Friday, 30 November 2012
First Christmas
I love it when someone orders a Stamp set off you and then lets you have the first go with it.
The funny thing is when you then have to buy it for yourself. Has anyone else had that experience?
Thanks, Brenda, I really enjoyed creating some cards with the First Christmas stamp set.
The baby in the manger fits perfectly on Whisper white card stock die cut with the second smallest Labels Framelit. I knew that it needed a border and what better than the Builder Wheels Snowflake Party and Snowflake Soiree. It is great fun using these wheels as you get such quick results.
I bought these also on a customer recommendation. it should really be the other way around.
The words are my prayer for anyone reading this blog "May the wonder of the first Christmas be with you always."
This stamp set brings to mind the Bible verse from John 1:14 "And the Word became flesh and dwelt among us."
Wednesday, 28 November 2012
Googly Eyes.
When I first received the Stampin up Seasonal Catalogue I skipped over the Halloween pages as I am not a fan of Halloween. However, I noticed one or two Stampin Up Demonstrators using "Googlies" in their projects.On further research I discovered these Goolglie Eyes on page 27 of the Seasonal Catalogue along with all the other Halloween items. As they were only £2.25, and you get 40, I ordered them and I have used them on the Owl in the card above.
The green background was cut using the Top Note Die which has the white Framelits Die on top.
I used the Owl Occasions stamp set. I love the many elements that are in this set as there are so many variations.
It is always good to remember at this time of year that "God became flesh and dwelt among us."
God with us is the meaning of Emmanuel, one of the names of God mentioned in the book of Isaiah.
I have used the Top Note die again as the background on a Baja Blue base. The greeting is from a set of stamps designed by Paula Pascual for Personal Impressions.
The ladies are doing these cards and four others at my Christmas Card Stamp a Stack Workshop, here, tomorrow night.
Subscribe to:
Posts (Atom)