Friday 28 March 2014

Wedding Cards.


I have made three Wedding Cards for my son, Ben and his fiancee, Jenni's, wedding.
One card will be from us and the two others were commissioned.
I am hoping that Jenni will be too busy, with last minute preparations, to view this page!
I used Stampin Up's stamp set, Love and Laughter for the first one and I cased the card from Teri Pocock HERE .
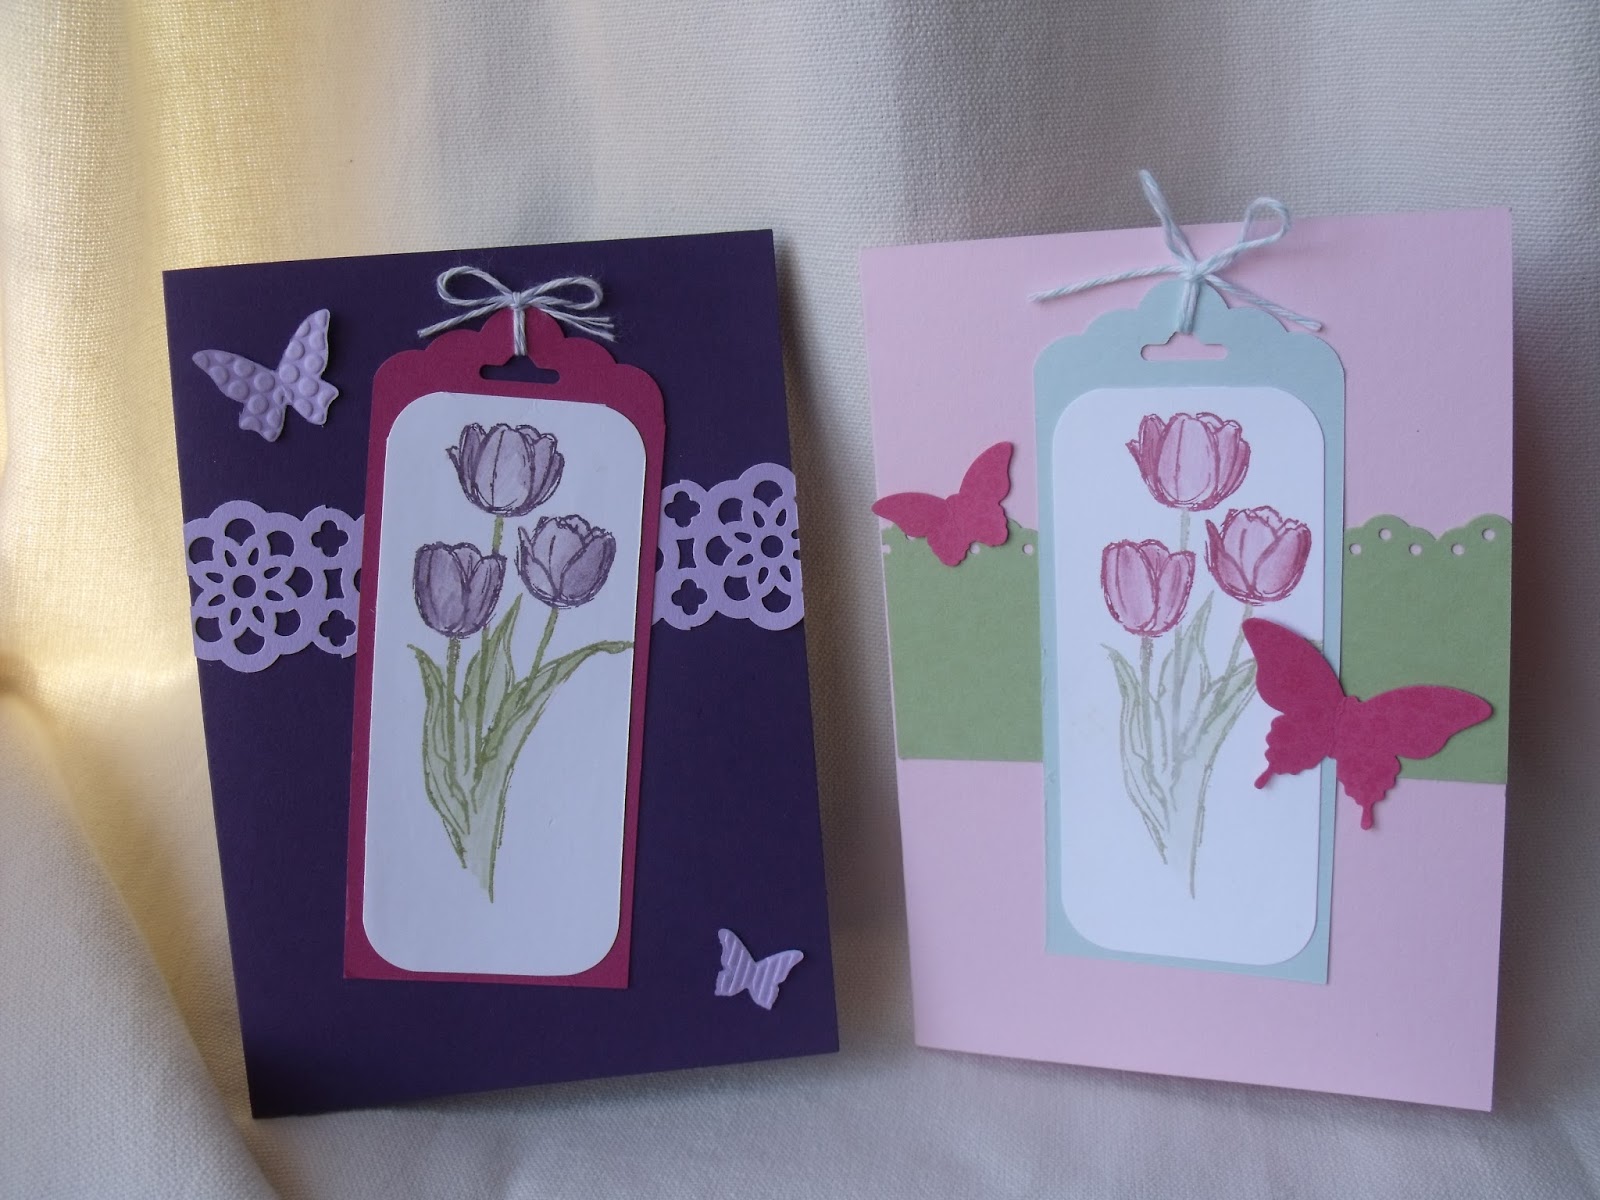
I used the Scallop Tag Topper Punch,one of the Itty Bitty punches and some of the Fancy Foil Designer Vellum. The opening was tied together with some White Organza Ribbon.
.

You have probably guessed by now that the colour theme of the wedding is pink!
I dug out a box of Hero Arts Stamps that have been stashed away for a long time. The sentiment is also Hero Arts. I embossed the darker pink squares behind the stamped images and inked the edges with Silver Metallic Encore Ink Pad before sprinkling them with silver embossing powder and applying a Heat gun to set the embossing powder. The background stamp is a quote from 1 Corinthians chapter 13 about Love.


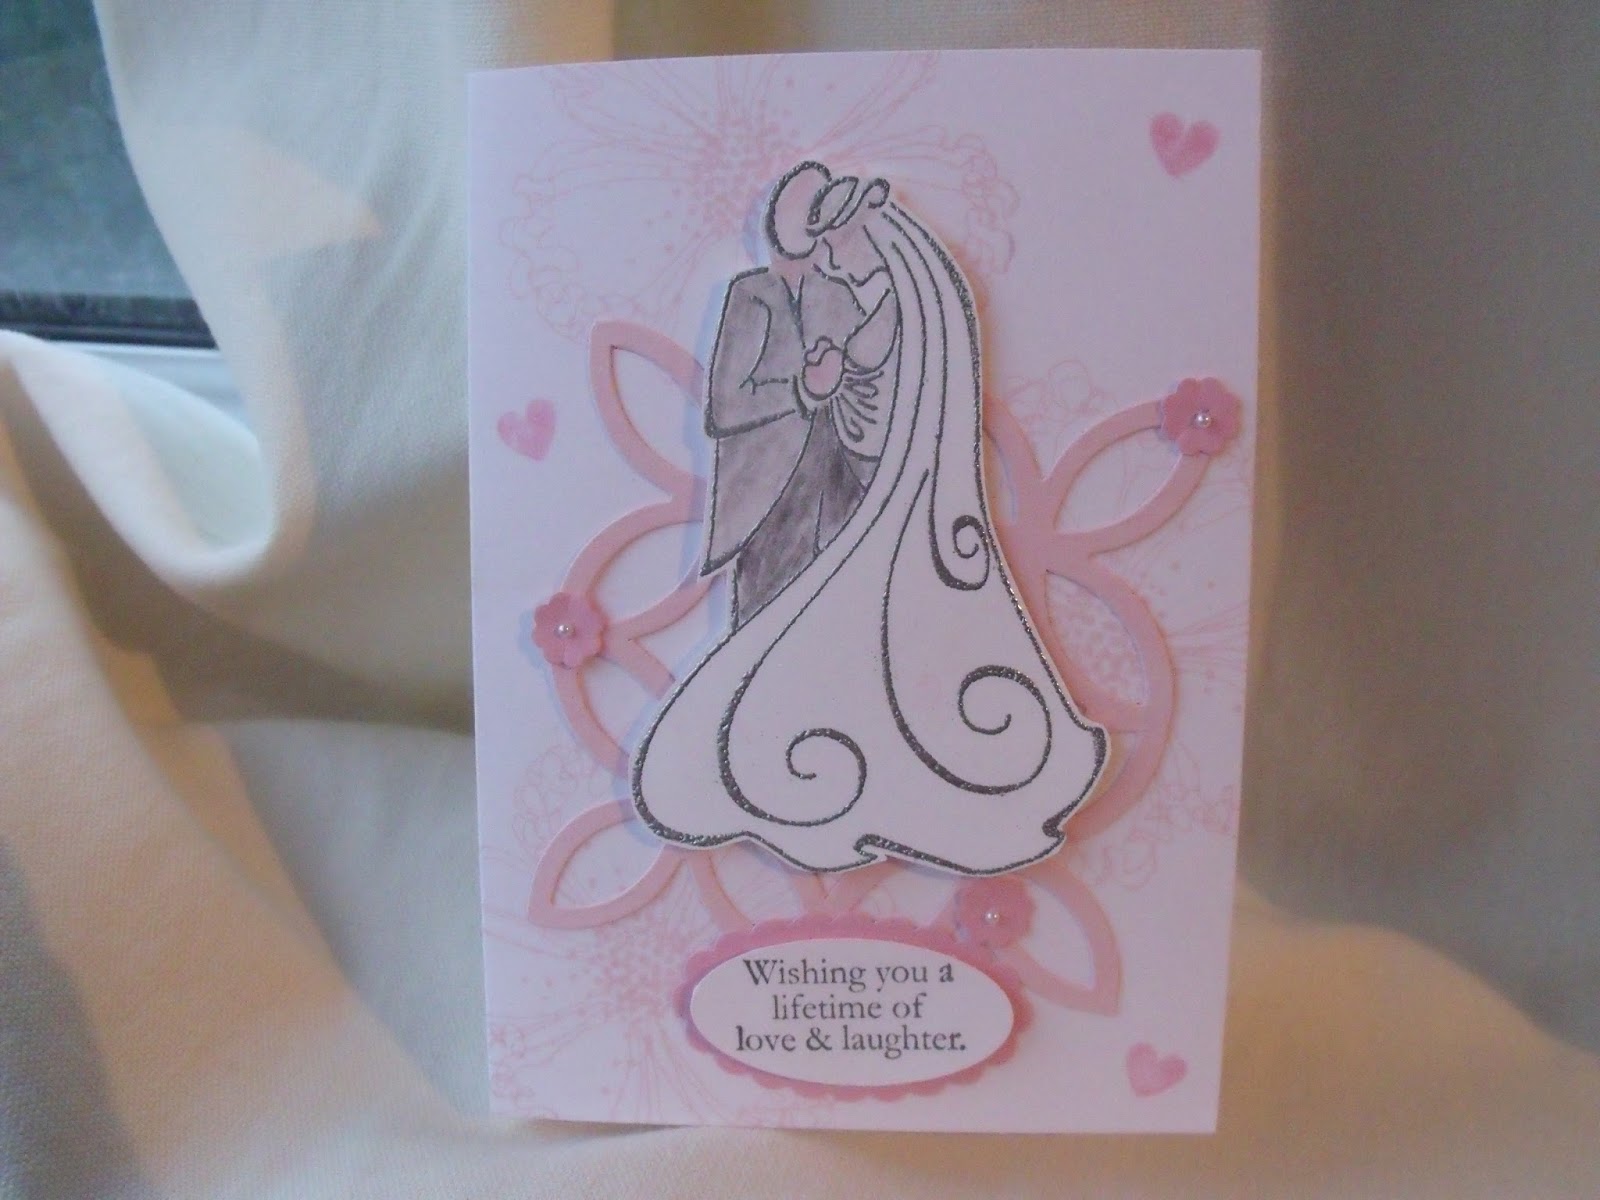
The background stamp in the last card is from Stampendous and the bride and groom are an Anita's stamp.
Notice the Stampin up Bigz Lattice Die and the tiny pink flowers punched out with one of the Itty Bitty Punches. The tiny heart stamp is in the Love and Laughter Stampin up set as is the sentiment.

Monday 24 March 2014

Easter Blessings Class.


Tonight I am doing a simple Make and Take for the Ladies Fellowship Group at Hoylake Evangelical Church. I love the Easter Blessings Stamp so I decided to centre the cards around that.
There are going to be five tables with five ladies at each so each table will be doing one of these cards.
They will each have a different Border Punch, two Stampin' Write Markers and a Blender pen.
The latter is my new favourite tool and it is proving to be very popular in my classes too. It is so easy to get a pretty watercolour effect on your cards.


I will be taking the Papillon Potpourri stamp set with me and the matching punches.
I have aldo cut out a number of butterflies with the Beautiful Wings Embosslit which embosses and cuts out five butterflies at one sweep!
The tags were punched with the popular Scallop Tag Topper Punch and finished off with a bit of Baker's Twine tied into a bow.

Tuesday 18 March 2014

Watercolour and Masking Techniques with Wetlands and Gorgeous Grunge Stamp Sets


We made these cards at a Watercolour Class a while ago. I discovered them in my Drafts and realised that I had never published them so here they are. I have used the Wetlands Stamp Set in both of them. This stamp set has been very popular with my customers. Possibly this is because I live on the Wirral Peninsular and we get lots of migratory birds stopping off in Spring and Autumn,                                                                    I
used an Aquapainter to colour in the sea and sand in the top card. I then stamped the birds on top using Stazon Ink so that the image would not bleed.                                                                                     
In the second card I used a masking technique so that the goose would be standing in front of the grass.
I used the Gorgeous Grunge stamp set to get the brown ink splashes in the background. The Decorative
Label Punch, a Naturals Designer Button and some Baker's Twine finished the card off. 
                          

See Ya Later Cards.


I recently ordered the Hardwood Stamp Set and I have really enjoyed using it.
I dug out my Create a Cup Cake Stamp Set, blew off the dust and put it to work.
I punched the stripey Banners out of the tags which come with the Twisty Treats pack (one of the free
 Sale a bration products with a £45 order.)


I have been looking forward to making a card with this stamp from the See Ya Later Sale a Bration Stamp Set. The card base is Daffodil Delight stamped with the Sale a Bration Petal Parade Stamp Set.
I used some Watercolour Wonder DSP on the left hand side and added a thin strip of Tangerine Tango die cut with the zig zag Framelit from the Finishing Touches Edgelits.
The flowers were stamped and punched out with the Petite Petals Bundle.

Wednesday 5 March 2014

Scalloped Tag Topper Punch cards and a box.


Above are two projects that my ladies will be making at a class, here, this Thursday.
I got the idea for the box from HERE
I decided to use the Hardwood Stamp, which is huge, for the background on Naturals White Card Stock.
The inks used were Strawberry Slush and Bermuda Bay.
The Owl Builder and the Bird Builder Punches were both used for the card.
I dyed the White Taffeta Ribbon by sponging Strawberry Slush ink on it and wetting it with an aquapainter to blend the colour. I then dried it by dabbing it with a piece of kitchen towel.


This is a Gatefold Scalloped Tag Topper Punch Card.What a mouthful!
The base colour is  Strawberry Slush with Melon Mambo Ribbon.
I used the lovely tulips from the Easter Blessings Stamp Set with the sentiment.
I inked up the stamp with Stampin' Write Markers and then pulled the colour into the image with a Blender Pen. I added a bit more colour for shading purposes. The colours used were Raspberry Ripple and Gumball Green. Two of the 2012 - 2014 In Colours which will retire sometime soon.
The DSP used was from the Saleabration Sweet Sorbet Pack and the Designer Paper Stack for the In Colours 2013 - 2015.
The ever useful Papillon Pot Pourri Stamps and matching Punch finished off the card.
I even took Monica's advice and punched one butterfkly out of the yummy Silver Glimmer Paper to add a bit of bling.

Saturday 1 March 2014

Circle Thinlets Album


This is the Circle Thinlets Album that we will be making at a Class at my house on Wednesday, March 12th, 7.30pm. There is only one space left so let me know soon if you would like to join us.
I used Strawberry Slush Cardstock for the base and covered it with the gorgeous Salebration Sweet Sorbet Papers, Pistachio Pudding and Coastal Cabana Cardstock.
I used Strawberry Slush Ruffled Ribbon for the closure.
I love the symmetry of this Album and the ease with which it can be put together using the Circle Thinlet Die.