Tuesday, 5 February 2013

Tutorial for Ferrero Rocher Boxes using Labels Framelits.


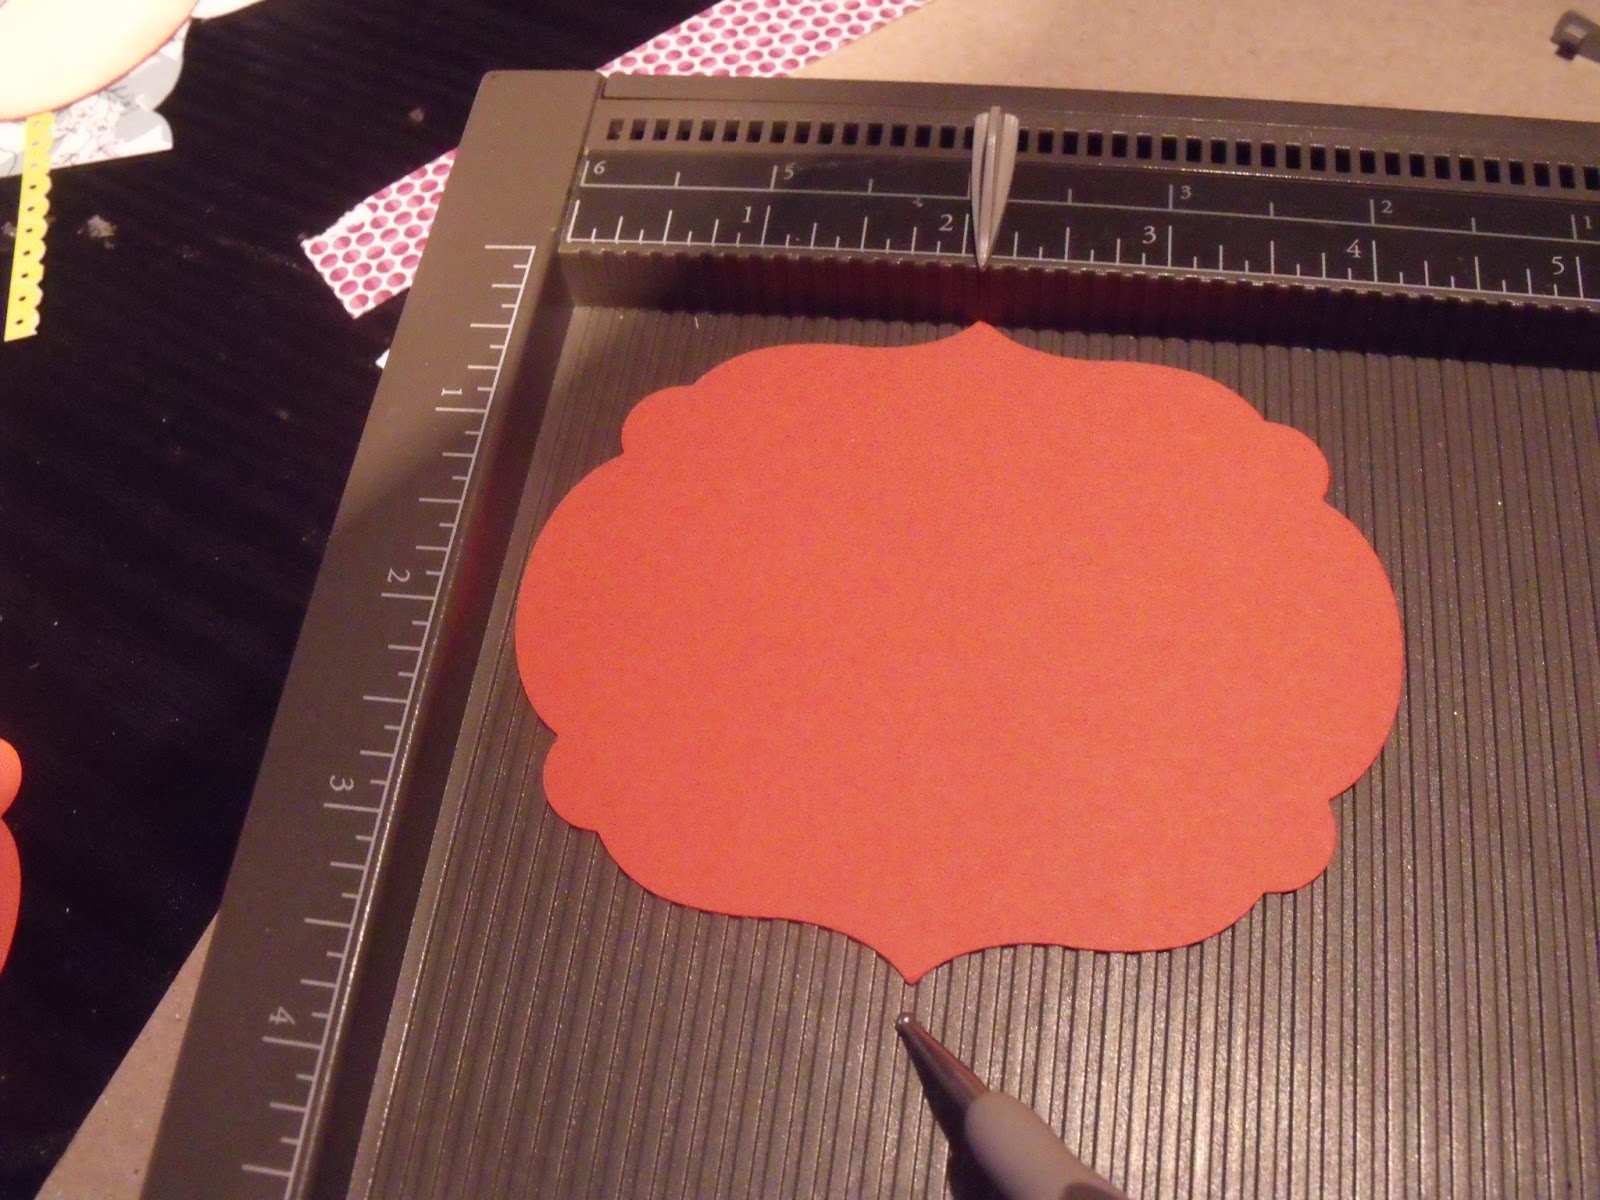
Die cut two Labels Framelits using the third largest frame.
Put a place marker at the 2 1/8th inch mark on the Score Board.
Run your scoring tool down that line and place one of the die cut Labels in between.

Now put two markers at 1 3/8th inch and 2 7/8th inch and score both lines.
Do this for both Labels.


Turn the Label to the vertical position and put markers at 1 inch and 2 1/2 inches. Run the scoring tool down one of these lines and place the Label down to make sure that it is aligned correctly matching the grooves with the markers.
Score the two lines.
Repeat with the other Label.

 Cut up to score lines as shown in the photograph with one Label horizontal and the other vertical.
NB Two tabs have been cut off from the Vertical Label on the right.


Adhere the tabs to the sides using Tombow Adhesive or Red Double Sided Tape. 
The base is on the left below the Tombow and the lid is on the right.
Attach the lid to the base.


This is the back of the box once the tab has been attached.
The completed box decorated with Sycamore Street DSP punched with the Scallop Square Punch and flowers punched with one of the Itty Bitty Punches.
I then added a Tangerine Tango button from the Sale-a-bration Ribbon and Button pack, free with a £45 order.
The finishing touch was one large Pearl Basic Jewel on the button and small ones on the flowers.The Jewelry Tag Punch was used for the Thank You sentiment cut of the Teeny Tiny Sentiments Stamp Set.

I hope that you enjoy making these Boxes. Please remember to respect my original design and link back to my Blog if you share it on line.


Monday, 4 February 2013

Madison Avenue and the Diagonal Plate.


 I love it when an order arrives and you have the time to play with some of the items straight away.
Today, amongst other products, I received the Diagonal Plate for the Scoring Board,the Sycamore Street Papers and the Madison Avenue SAB Stamp Set FREE!
I also got the Brights Stampin' Write Markers.

 So I set to and made some Thank you cards for the lovely ladies who had placed an order with me last week.
The Brights Markers matched the Sycamore Street Papers but I did add the Summer Starfruit from the 2012-2014 In Colours.My inspiration came from our recent training day with Monica Gale.
You can see the original cards HERE on Monica's Web Site.
I call these free form cards as there is no right or wrong in what you choose to do.
Perfect cards to do with people at a Make and Take, especially if they are beginners, as they can't go wrong.
I used the Diagonal Plate to do the envelopes.
I found a very useful chart for the sizes HERE
I decided to make 3 inch square cards so I was instructed to cut a 5 inch square of DSP and then score using the 2 1/4 inch line on the plate.
It was a cinch!
I can't wait to do more!

Sunday, 3 February 2013

Passionettes Spring/Summer Seasonal Catalogue Blog Hop, 2013


Welcome to the last Blog in the Passionettes Spring/Summer Catalogue Blog Hop.
I hope that you have been inspired by all of the beautiful projects that everyone has prepared using the new products available to order from the Catalogue.


You may have just joined us or come from Tara's Blog HERE.

I chose to showcase some products from pages 32 - 33 of the Catalogue.

I based my projects on the Sizzlits S Die which die cuts an adorable pinwheel and the Blowing Wishes Your Way Stamp Set. The Stamp Set also has the sentiments happy birthday, thank you, best wishes and you are headed in the right direction so they can be used for a good selection of cards.

For the above card and treat box I used Tempting Turquoise, Real Red and Daffodil Delight from the Brights colour family.
 Pinwheels speak to me of Summer - teas in the garden, parties or the Beach!


I then made a card and a Ferrero Rocher Box in more subtle tones using the In Colour 2012 - 2014 Family.
I love the Pinwheels. They are so easy to make as the holes to put the mini brad through are cut out by the Big Shot. You can fold each section over on to a Pricking tool, hold it secure with your fingers and then thread the Mini Brad through to hold it all together.

I also love Scrapbooking and I know that these pinwheels will enhance all sorts of pages especially Summer ones!

Supplies used:-

Designer Series Paper - Poppy Parade and Patio Party.

Card Stock - Real Red, Tempting Turquoise, Daffodil Delight, Midnight Muse, Summer Starfruit, Primrose Petals and Whisper White.

Punches - Dotted Scallop Ribbon., Scallop Edge Border, Decorative Label, Owl Builder, Word Window,
1 1/4 inch Scallop circle Punch and 1 inch Circle Punch.

Stamp Sets - Wishes Your Way, Four Frames, Owl Occasions.

Big Shot Dies - Sizzlits S Die, Labels FramelitsAdorning Accents Edgelits with matching Adorning Accents Embossing Folder.

Embellishments and Ribbon - 3/8th inch Organdie Ribbon in Marina Mist, 1/4 inch Stitched Grosgrain Ribbon in Real Red, Cute Clips, Mini Brads, Pearl Basic Jewels, Rhinestone Basic Jewels.

Thank you for visiting my blog. If you would like to start from the beginning then don't forget to hop over to to Vicky's Blog HERE.
   

Saturday, 2 February 2013

8 x 8 Scrapbook Album

 I completed an 8 x 8 Creative Memories Picfolio Album this week for my husband's 60th birthday. I chose the photos at Tescos on Monday and collected them on Tuesday. I sorted them on Tuesday evening using the Creative Memories Jewel Heritage 8 x 8 Kit. I then cropped the photos. On Wednesday I journalled and embellished and finished it on Thursday lunch time to give to him in the evening.
This is the first page.
I really enjoyed choosing the photos that told his story mostly in the last two years.The pages included Family walks, trips, fun activities, friends and much laughter.

Our Christian Faith is central in our lives so I included a double page spread about our church and a visit by John Mackay giving a Creation Talk.
The last page came back to our Family and ended with Psalm 128